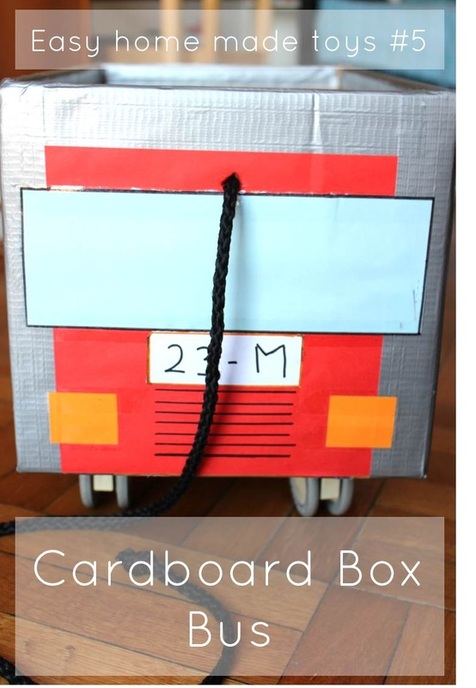
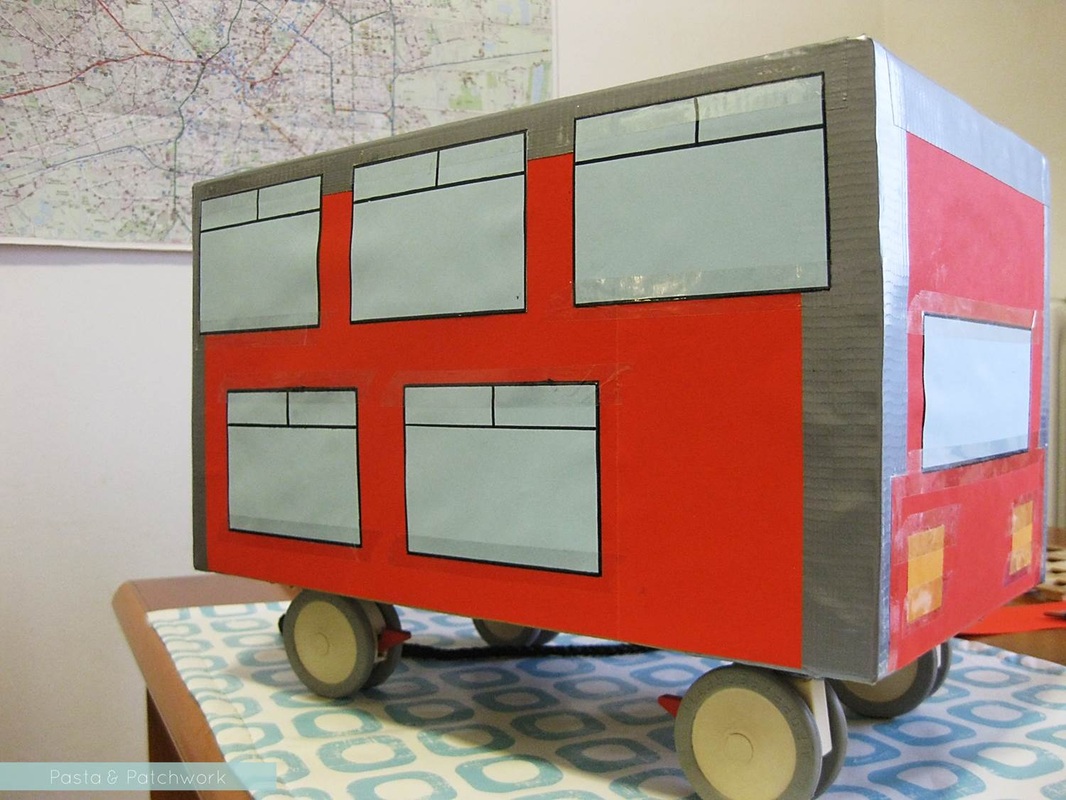
When we took the castors off the Bean's bed (why would you want a toddler bed to move willy-nilly?!) I immediately wanted to make some sort of vehicle for him with them. It seemed a shame to waste free wheels, after all! And so this pull-along cardboard box bus was born.
I love it (toot toot there goes my own horn), partly because it's thrifty and mostly recycled, and partly because it's a nice little reminder of all things British. Since the Bean is obsessed with all things be-wheeled, he's pretty pleased with it too.
It's really very easy to make and won't break the bank even if you have to buy some new castors (available from any DIY shop). Do use a good, sturdy cardboard box though - this one has been sat in, dragged about sideways, turned upside-down and sat on... You get the picture. I got mine from a pile outside my local supermarket.
It's really very easy to make and won't break the bank even if you have to buy some new castors (available from any DIY shop). Do use a good, sturdy cardboard box though - this one has been sat in, dragged about sideways, turned upside-down and sat on... You get the picture. I got mine from a pile outside my local supermarket.
Cardboard box bus
You will need:
A very sturdy cardboard box
coloured paper (red, blue, orange) and white paper
black marker pen
ruler
1 metre of sturdy rope
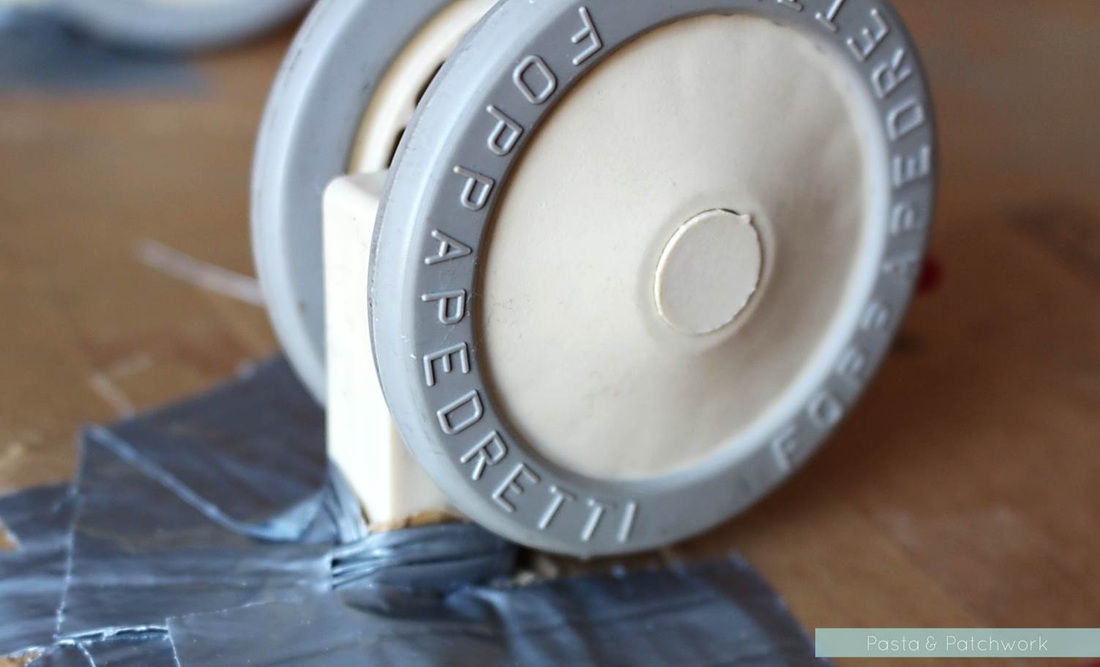
4 castors, ideally recycled
clear sticky tape
strong tape such as parcel or gaffer tape, in any colour
glue
scissors or a paper knife
You will need:
A very sturdy cardboard box
coloured paper (red, blue, orange) and white paper
black marker pen
ruler
1 metre of sturdy rope
4 castors, ideally recycled
clear sticky tape
strong tape such as parcel or gaffer tape, in any colour
glue
scissors or a paper knife
Method:
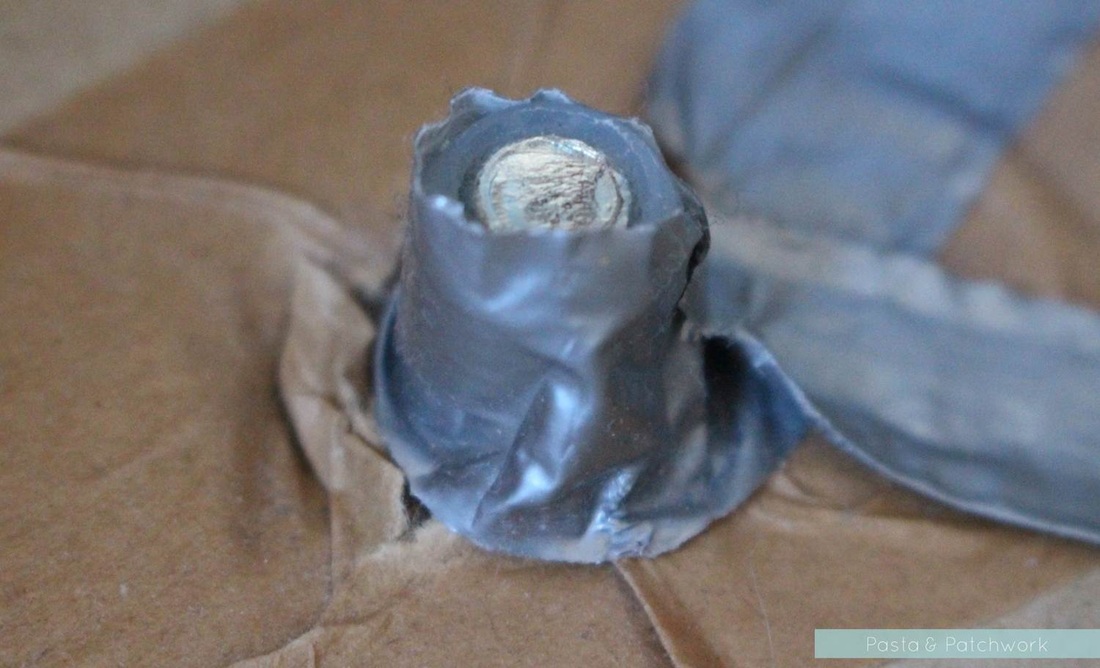
1. Using the knife or one blade of the scissors, make four small holes in the bottom of the box, where you want the wheels to be. The circumference of the holes should be smaller than than of your castors to ensure a snug fit.
2. Push the castors through the holes carefully so as not to rip the cardboard, then secure with lots of strong tape both on the outside and inside of the box. Make sure the wheels can still turn.
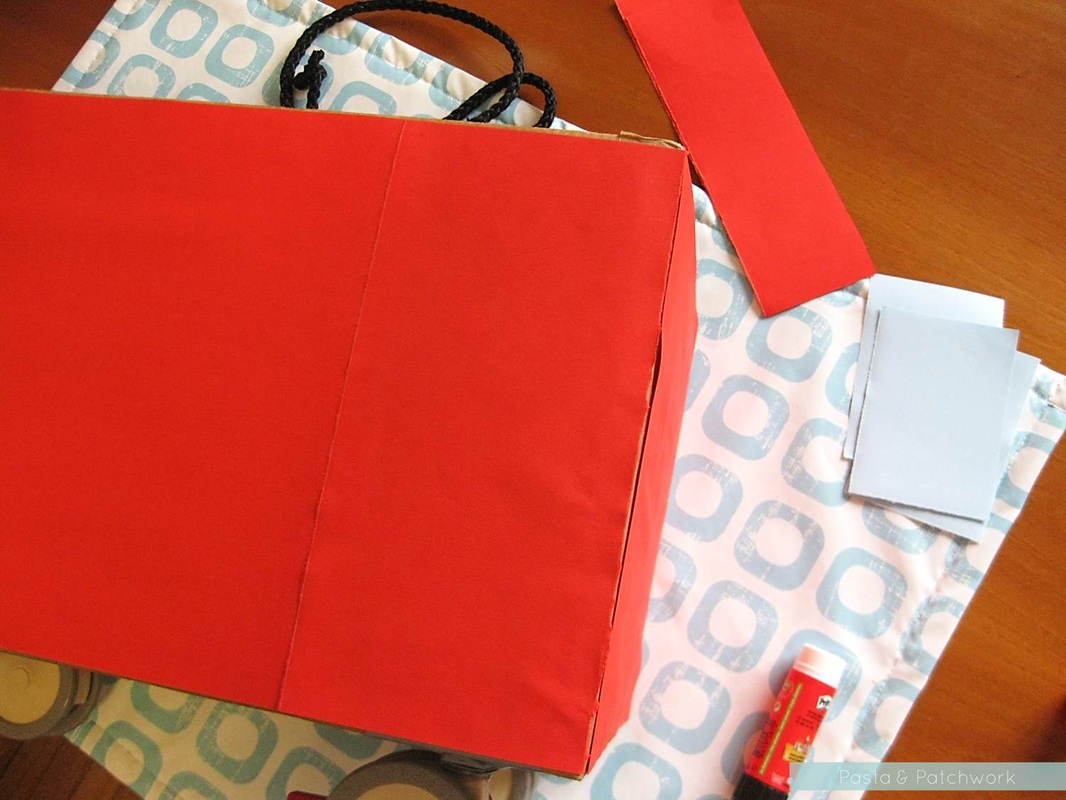
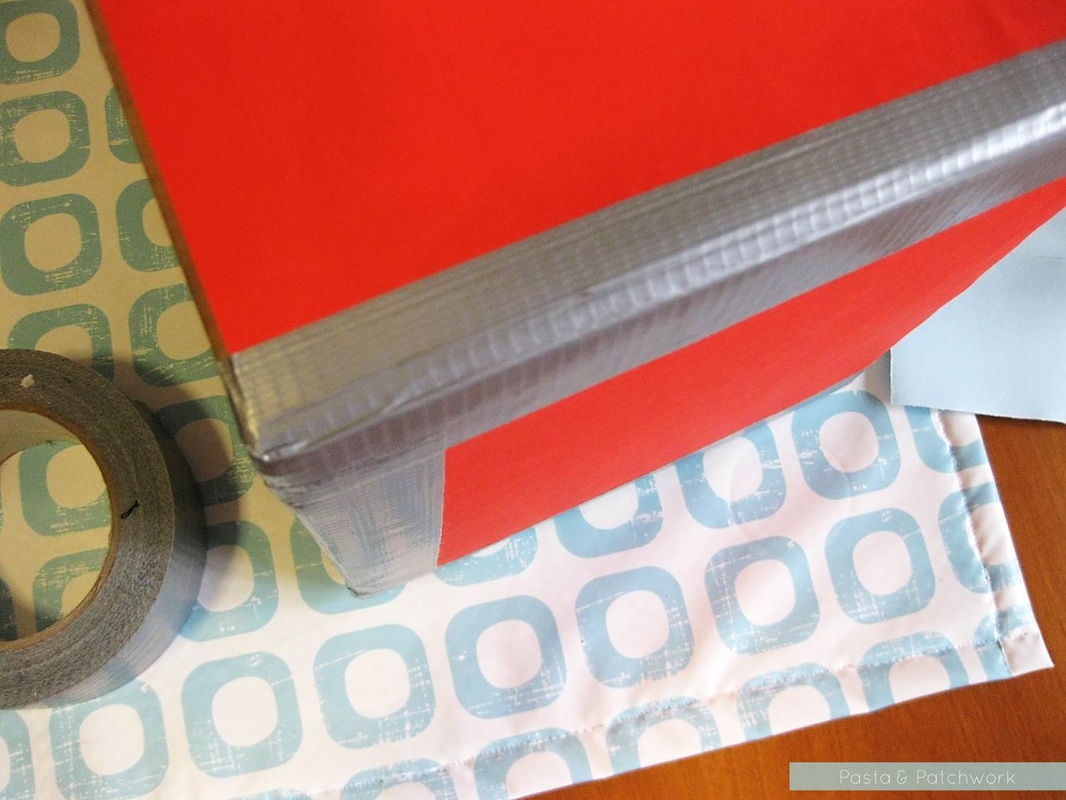
3. Cover all four sides of the outside of the box with red paper.
4. Reinforce the corners with coloured tape.
5. Cut (or tear, depending on your levels of patience) ten squares out of the blue paper for the windows. Stick five on either of the long sides of the bus.
6. Cut two rectangles of blue paper for the front and back window and attach.
7. Cut four small squares of orange paper for the head- and taillights, attach two on the front and two on the back.
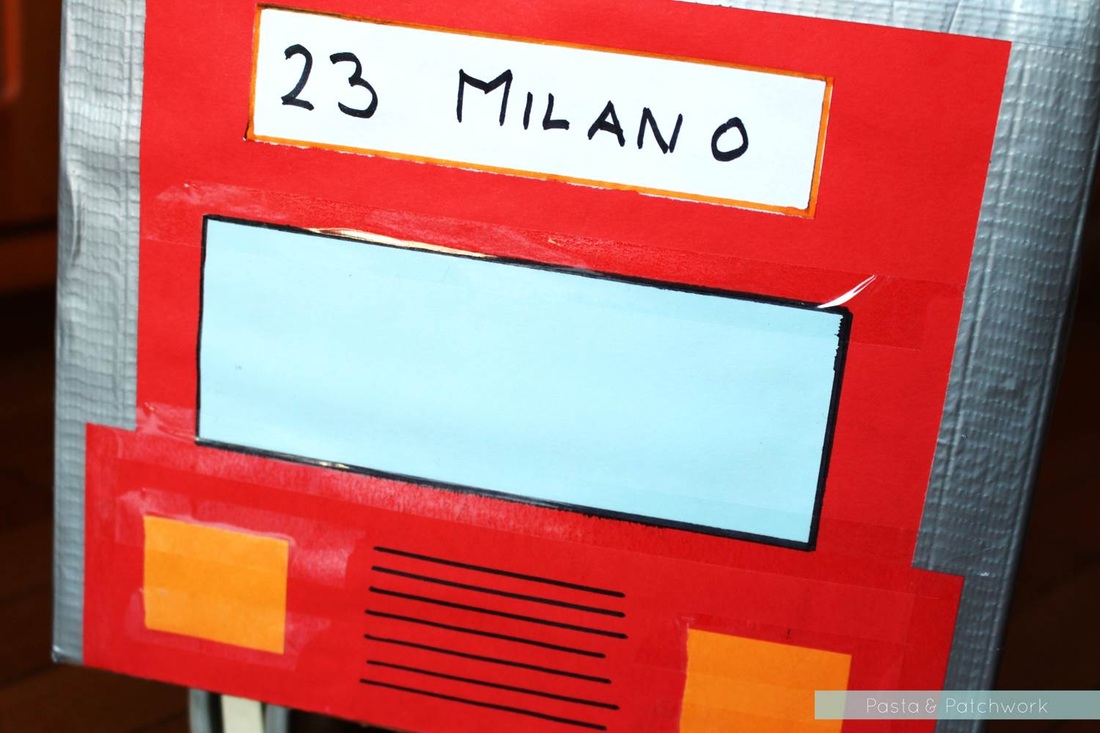
8. With a black marker pen and a ruler, draw around the windows to make them more realistic-looking.
6. Cut two rectangles of blue paper for the front and back window and attach.
7. Cut four small squares of orange paper for the head- and taillights, attach two on the front and two on the back.
8. With a black marker pen and a ruler, draw around the windows to make them more realistic-looking.
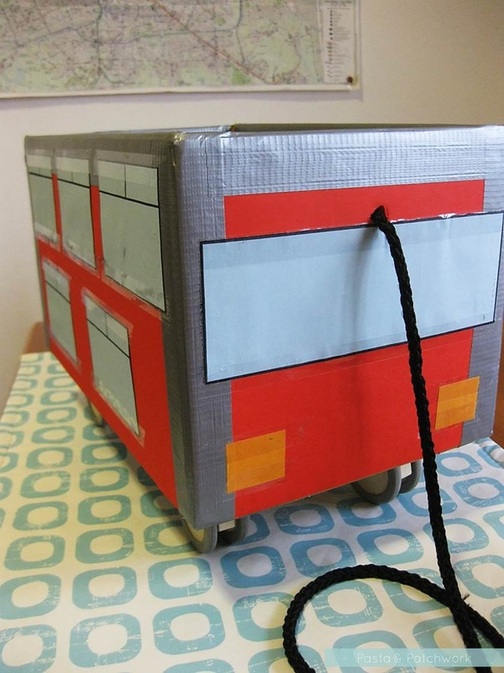
9. Make a small hole at the front of the bus, near the top, and thread through the rope.
10. Cut one large and one small rectangle out of the white paper, and give your bus a number and destination.
10. Cut one large and one small rectangle out of the white paper, and give your bus a number and destination.

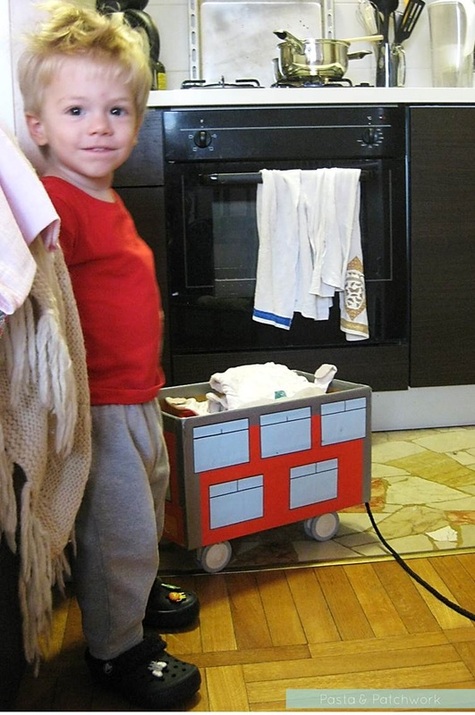
11. Done! Hand over to toddler to pull about and fill with stuff as they see fit...
Did you like this cardboard box bus? Have a look at my other Easy Home Made Toys!